
The increasing environmental awareness and health consciousness have catalyzed a major shift towards clean, renewable energy sources such as solar. Currently, switching to solar entails choosing between grid-tied and off-grid solar systems. As implied by the names, grid-tied systems are connected to the city’s/country’s electrical grid while off-grid systems are not connected.
Although the installation process and thought of being standalone may seem a bit intimidating, going off-grid has many potential benefits. Besides reducing electrical bills, off-grid solar systems minimize power outages, help keep the environment clean, and present a reliable power source to people in rural Brisbane and beyond. Here are the major components you will require and the steps you can take to get your off-grid solar system up and running.
Essential Components
- Multi-mode inverter or battery charger/inverter
- DC solar charge controllers or AC solar inverter
- Solar panels
- Battery bank
- Generator (optional)
-
Calculate Your Electrical Load
Before choosing the individual components for your off-grid system, calculate your electrical load, i.e. energy requirements. This step is fairly straightforward, as it is only basic arithmetic.
- First, determine the appliances that will run on solar energy and define the duration in hours
- Check each appliance’s specification chart to find out its power rating
- Calculate the Wh (watt-hour) using this formula: Daily Wh consumption = appliance power rating x run time
- Finally, add the watt-hours of all the appliances to find the total Wh
-
Choose Your Batteries
While Brisbane is usually sunny throughout the year, it pays to hedge yourself against the occasional cloudy days. Since voltage from the solar panels varies depending on the sunlight and your appliances require a constant rated voltage for optimal functionality, it would be best if you purchase deep-cycle batteries.
Unlike bike and car batteries, the deep-cycle variety can provide a deep, slow discharge and partial discharge. This means that they charge when the sun is up and gradually discharge between 45% and 75% of their total capacity.
Also, decide your optimal system voltage before moving to other components. For instance, if you intend to power a small home 12 V or 24 V should suffice. 48 V is more suitable for higher power demands.
-
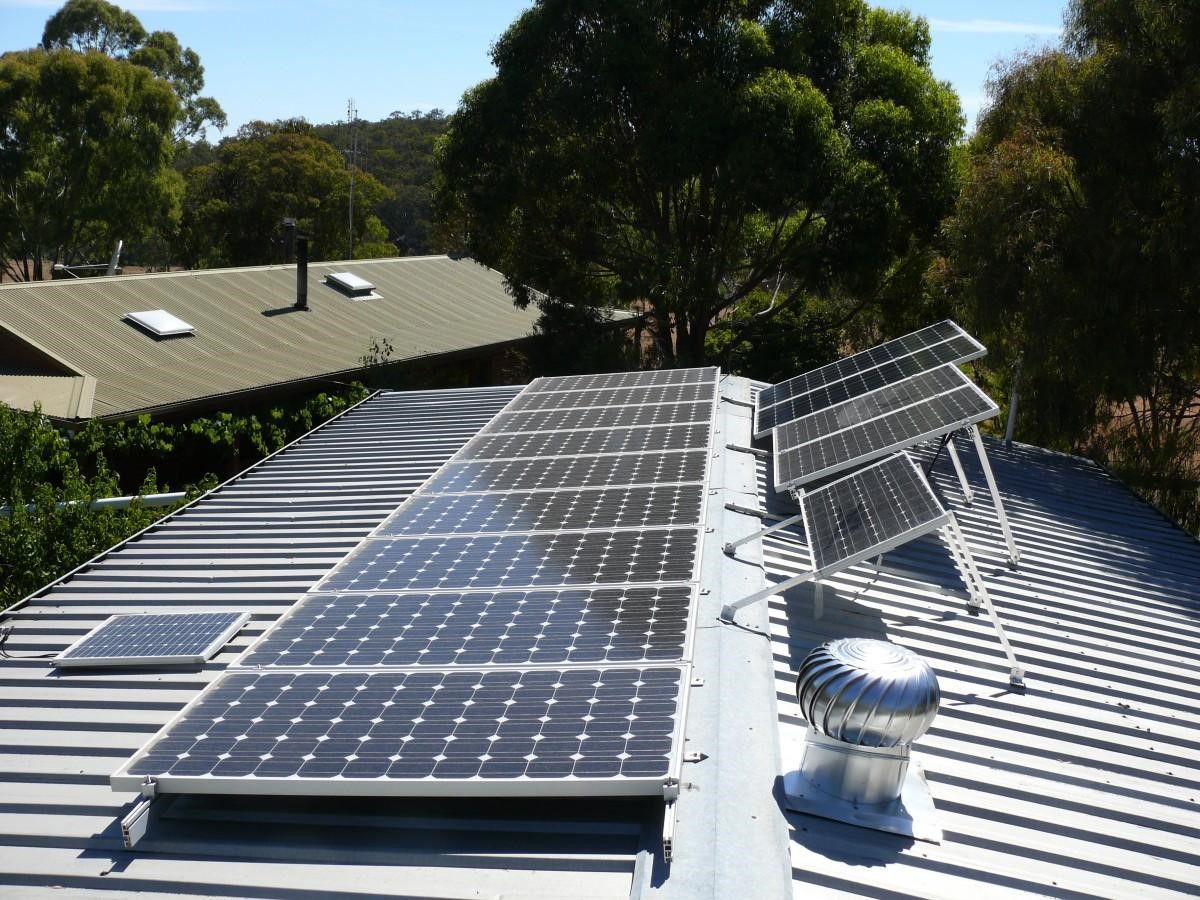
Choose Your Solar Panels
Solar panels convert sunlight into electricity in the form of a direct current (DC). Currently, there are monocrystalline and polycrystalline panels, with the former being more expensive and efficient. Ideally, your solar panels should generate enough power to charge your batteries fully on most days.
Contrary to popular opinion, solar panels generate electricity even in cloudy weather. However, they only generate 10%-25% of the energy they produce on sunny days. With this in mind, choose the solar panels that match your batteries’ capacity.
-
Select a Charge Controller
Charge controllers are devices placed between solar panels and batteries to regulate the current and voltage that comes from the panels. Charge controllers prevent battery damage through overcharging by regulating the charge the batteries receive as input voltage from the solar panels increases.
The three kinds of charge controllers you can choose from include:
- ON/OFF – Arguably the least efficient
- PWM – Delivers optimal results at a relatively affordable price
- MPPT – Highly efficient but costly
While your final decision will come down to personal preference, affordability and accessibility, many solar Brisbane providers recommend either the PWM or MPPT.
-
Choose an Inverter
Inverters are devices that convert DC (direct current) into a more appliance friendly AC (alternating current) electricity. The power of your inverter should be equal to or exceed your total electrical load. Here are the three kinds of inverters you can choose:
- Square Wave
Usually, the least expensive, square inverters are incompatible with many devices. - Modified Sine Wave
These inverters are not ideal for electromagnetic and capacity to devices, e.g. motors, fridges, and microwaves. - Pure Sine Wave
These inverters are suitable for most appliances and arguably more efficient than the other varieties.
-
Mount Your Solar Panel
Set your solar panels on a rooftop or on the ground, and tilt them towards the direction with the most exposure to sunlight. You can pour concrete on each leg of the panel’s stand to secure it firmly to the ground. Mount your panel by screwing it to the stand using the inbuilt holes on the panel’s sides.
-
Connect Your Components
It is possible that your solar panel rating and battery capacity do not come in a single, readily available unit. To compensate for current rating and voltage differences, you will need to add more batteries or a small panel in either a series or parallel connection.
A series connection involves connecting a device’s positive terminal to the negative terminal of another. On the other hand, a parallel connection involves connecting a device’s positive terminal to the positive terminal of another device.
After setting everything up, we advise that you begin your wiring by connecting the charge controller to the battery. Connect the battery’s negative wire to the controller’s negative terminal, and repeat for the positive side. Lastly, connect your charge controller to your solar panel.
Safety Tip: Before connecting your charge controller to your solar panel, cover your panel with an opaque material, or face it away from the sun. This protects your charge controller from damage by abruptly exposing it to high voltage from the panel.


Leave a Reply
You must be logged in to post a comment.