You open the car door on a hot afternoon, and the smell hits you before the mess does: ground-in cracker crumbs, pet hair woven into the carpet, a dusty film on the dashboard. A quick wipe-down won’t fix it, because the real dirt lives deep in the fibers and crevices a cloth can’t reach. That’s why good car interior cleaning starts with vacuuming, not wiping. And the technique matters as much as the tool. If you’re comparing options before you buy, honest BestVacuumCleaner reviews can help you match a vacuum to your vehicle’s actual needs, but the steps below are what turn any vacuum into a genuinely effective interior-cleaning tool.
Quick Answer
Vacuum the car interior in a fixed order: remove loose trash, blow out or brush crevices, vacuum from top to bottom and back to front, then finish with mats and the trunk. Use a crevice tool for seams and rails, a brush attachment for fabric and vents, and full suction only after the large debris is gone. Dry vacuuming comes first; wet or spot extraction comes later, if at all.
Key Takeaways
- Vacuum top-to-bottom and back-to-front so dislodged dust doesn’t fall onto areas you’ve already cleaned.
- Match the attachment to the surface: crevice tool for gaps, soft brush for fabric and vents, wide nozzle for carpet and mats.
- Dry debris must come out before any liquid cleaning, or you’ll grind grit deeper into the fibers.
- Pet hair and embedded sand need slower passes and sometimes a rubber brush or squeegee first.
- Mats, seat rails, seat seams, and the trunk are the most commonly skipped spots, and the biggest sources of lingering odor.
Why Vacuuming Order Matters More Than Power
Suction strength helps, but technique decides the result. A powerful vacuum used randomly leaves dirt behind because you keep redistributing debris into areas you already cleaned. Working in a set order prevents that.
Think of the interior as a series of layers. Loose trash sits on top. Grit and sand settle into carpet pile. Fine dust coats hard plastics and vents. Pet hair wraps around fibers. Each layer needs a slightly different approach, and each one should be removed before you move to the next.
The correct sequence
- Remove trash, floor mats, and anything loose from pockets, door bins, and the trunk.
- Dry-brush or blow out crevices, vents, and seat seams so trapped debris becomes reachable.
- Vacuum high surfaces first: dashboard, vents, door panels, headliner edges.
- Vacuum seats, then carpet and floor areas, working from the back of the cabin toward the driver’s seat.
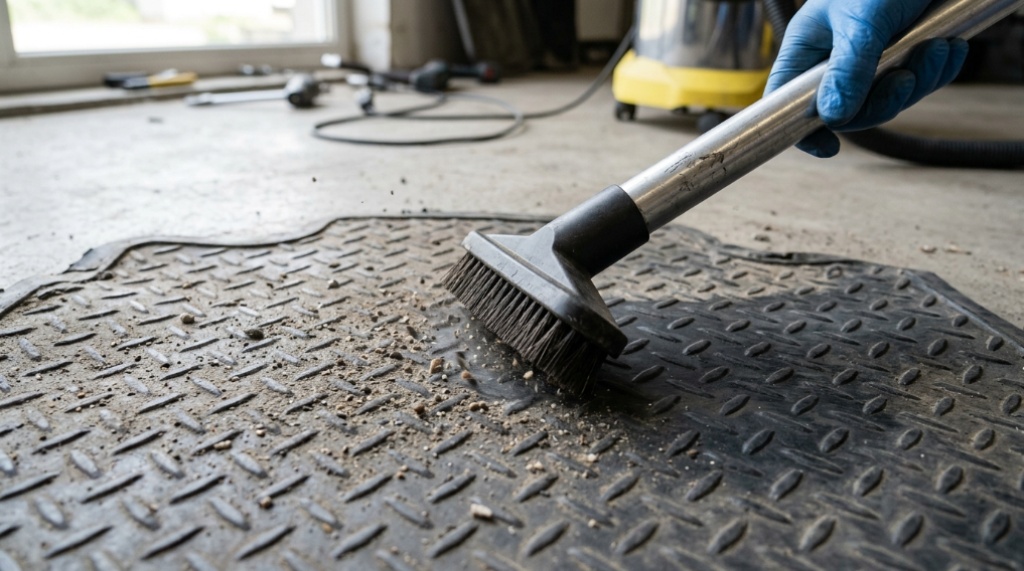
- Vacuum the mats last, outside the car if possible, so you’re not shaking dirt back into a clean cabin.
If you reverse this order, dust from the headliner and vents drops onto the seats and carpet you just finished. That’s the single most common mistake in DIY car cleaning.
Choosing the Right Attachment for Each Surface
Most vacuums for cars come with two or three attachments, and each one has a job. Using the wrong one either scratches surfaces or leaves dirt untouched.
| Attachment | Best used on | Why it works |
|---|---|---|
| Crevice tool | Seat rails, seat seams, console gaps, door pockets | Narrow tip reaches into slots a wide nozzle can’t enter |
| Soft brush | Fabric seats, vents, dashboard, headliner | Agitates dust loose without scratching plastic or pulling fabric |
| Wide nozzle | Carpet, floor mats, trunk liner | Covers more area and lifts surface debris quickly |
| Rubber brush or squeegee | Pet hair on carpet and upholstery | Clumps hair together so suction can grab it instead of scattering it |
A soft brush attachment is the most underused tool in car cleaning. Brushing vents and fabric before vacuuming lifts dust that suction alone would skim over. If your vacuum only came with a hard plastic nozzle, buy a cheap brush attachment separately; it makes a noticeable difference.
How to Handle the Toughest Problems
Pet hair
Pet hair weaves into carpet fibers, so straight suction often fails. Run a rubber brush or a damp squeegee across the surface first to gather hair into clumps, then vacuum with slow, overlapping passes. A brush attachment set on low suction helps on fabric seats, since maximum suction can pull the fabric and trap hair underneath.
Sand and fine grit
Sand behaves like tiny gravel. If you vacuum fast, it bounces and settles again. Use slower passes with the wide nozzle, and tap the mats against a hard surface before vacuuming them. For deeply embedded grit, a stiff brush loosens it first.
Spills and sticky residue
Dry vacuuming comes before any wet cleaning, always. Vacuuming a damp or sticky area can clog filters and smear residue deeper into the fabric. Once the area is dry and free of loose debris, treat stains separately with an appropriate cleaner. Some wet-dry vacuums allow limited liquid pickup, but check the manual before using that function inside a vehicle, because over-wetting carpet can cause mildew.
Crumbs in seat seams and rails
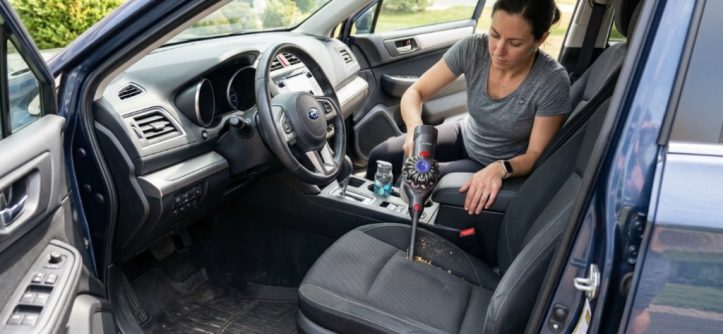
This is where a crevice tool earns its place. Run it slowly along the seam between the seat base and backrest, and along the seat rails. Slide the seat fully forward and fully back to reach the rail sections hidden underneath. This is also where dropped food causes most lingering odors.
Dry Vacuuming vs. Wet Cleaning: What Comes First and Why
These two methods solve different problems, and the order isn’t optional.
| Factor | Dry vacuuming | Wet cleaning or extraction |
|---|---|---|
| Purpose | Removes loose dirt, dust, sand, hair | Lifts stains, sticky residue, deep grime |
| When to do it | First, every time | After dry vacuuming, only when needed |
| Risk if done in the wrong order | Minimal | Grinds grit deeper and can clog filters |
| Drying time | None | Several hours; fabric must dry fully |
| Best for | Routine maintenance | Occasional deep cleaning or stains |
For most people, routine dry vacuuming every two to four weeks is enough to keep a car interior genuinely clean. Wet cleaning is for stains, spills, and seasonal deep cleans, not weekly maintenance. Over-wetting fabric is a common cause of musty smells that people then blame on the vacuum,Looking for heavy-duty suction power to handle stubborn messes? Before you make a purchase, make sure to looking for heavy-duty suction power to handle stubborn messes? before you make a purchase, make sure to pick the best dyson vacuum for pet hair before you buy.
Common Mistakes That Undo Your Work
- Vacuuming in random order. Debris keeps falling onto cleaned surfaces. Fix it by committing to top-to-bottom, back-to-front.
- Skipping the trunk. It holds as much dirt as the cabin floor and often smells worse.
- Using maximum suction on everything. High suction can pull at upholstery and trap debris in the fabric rather than removing it.
- Ignoring the vents. Dust blows out of vents every time the climate control runs, re-dirtying the dashboard.
- Vacuuming damp carpet. This clogs filters and can leave a smell that’s hard to remove.
- Never cleaning the vacuum itself. A full or clogged filter cuts suction dramatically. Empty the canister and check the filter before each car session.
A Realistic Maintenance Routine
You don’t need a full detail every week. A simple rhythm keeps the interior manageable:
- Weekly: shake out mats, quick pass over high-traffic floor areas, empty the trash.
- Monthly: full vacuum including seats, seams, rails, vents, and trunk.
- Seasonally: deep clean fabric, treat stains, wipe hard surfaces, and check under the seats.
This schedule keeps dirt from bonding to fibers. Once soil is ground in and exposed to heat, it becomes far harder to remove, especially in carpet and cloth seats.
Frequently Asked Questions
How often should I vacuum my car interior?
For most drivers, a quick vacuum every two to four weeks and a thorough one monthly is enough. If you carry pets, kids, or drive on dirt roads, vacuum weekly and pay extra attention to the seats and floor mats.
Can I use a household vacuum in my car?
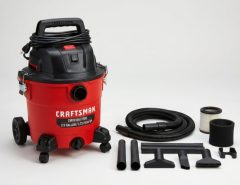
Yes, with a long hose and crevice tool it works fine. The main limitations are reach and outlet access. Cordless handheld and portable wet-dry vacuums are more convenient for vehicles, especially for the trunk and rear seats.
Should I wet-clean my seats before or after vacuuming?
Always vacuum first. Dry vacuuming removes grit that would otherwise turn into mud when it meets liquid, and it prevents that grit from clogging your vacuum’s filter during wet pickup.
What’s the fastest way to remove pet hair from car seats?
Loosen it first with a rubber brush, squeegee, or damp rubber glove, gathering hair into clumps. Then vacuum slowly with a brush attachment. Fast passes scatter hair into the air instead of collecting it.
Why does my car still smell after vacuuming?
Usually because the source is somewhere you didn’t vacuum: seat seams and rails, under the seats, the trunk, or the cabin air filter. Lingering moisture in carpet can also cause odor, so make sure any wet cleaning dries completely.
Do I need different suction settings for different surfaces?
Often yes. High suction works well on carpet and mats, but low or medium suction with a brush attachment is better for fabric seats and delicate surfaces. If your vacuum has no adjustment, keep the nozzle moving and use a brush to protect the fabric.
Conclusion
A clean car interior comes down to sequence, not strength. Remove loose debris first, loosen what’s stuck with the right brush or crevice tool, vacuum from top to bottom and back to front, and finish with the mats and trunk. Combine that with a simple weekly and monthly routine, and you’ll spend far less time fighting embedded dirt later. Start with the order and attachments outlined above, then choose a vacuum that fits how and where you actually clean.