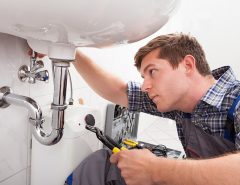
The plumbing tools most used by both individuals and professional plumbers. Without them it is possible that some work can not be executed, that is how important they are.
These types of tools are similar to plumbing tools. Since they share some work areas. But unlike them, plumbing tools focus more on pipes and drains.
Top 10 most needed plumbing tools
Sink drain cleaner

Of all the special plumbing tools you could have in your home, the sink drill is one of the most valuable. This easy-to-use tool is great for breaking and removing plugs in sinks and tubes.
Just do not use this tool in toilets. The toilets, also called WC, use a special tool called a toilet drill or WC drill.
The sink drill consists of a flexible cable with a steel drill tip on one end. The cable is wound in a drum can. A nut encloses the cable and, as the drum rotates, the cable and drill tip also rotate.
Toilet drill or toilet

WC is the plumbing term for the toilet, and a toilet drill, or a “toilet drill” as it is known, is a specialized tool for removing plugs in the toilets. You will not want to use a sink drill for a toilet or vice versa. The toilet drill and the sink drill are designed for very different purposes.
Flange
plunger The bungee plunger or ball plunger is a plunger specially designed to rinse plugs in toilets with the application of a vacuum and the force of water. The special shape of the rim plunger seals the hole at the bottom of the toilet bowl, unlike the standard cup-shaped plunger, which is used for sinks and tubs.
Cup
plunger The cup plunger is probably the most common plumbing tool in the home. It has a rubber cup shape and a wooden handle and is used to remove plugs in sinks, tubs, and showers. Do not use this plunger to undo toilet plugs, that requires a specially shaped plunger called a plunger drain.
Teflon tape

This is an essential tool to prevent leaks in threaded plumbing joints. Teflon® tape is a thin, versatile, common, and inexpensive white tape that is used to effectively seal threads on pipes that are being joined for pipe purposes such as sprinklers and threaded water line connections .
It is also used to seal air and gas to prevent leaks through threaded connections like in your dryer.
Technically known as PTFEit is silky in texture and, being strong under tension, it breaks into threads.
Adjustable English wrench for pipes
When you think about the essential plumbing tool, it is this. The adjustable English pipe wrench is an iconic symbol of plumbing repair.
This tool provides a tremendous lever and grip. Once you tighten the English wrench around the pipe using its rugged knob, it is designed to grip round objects (such as pipes) by surely burying your sharp teeth and sawing into the pipe, increasing the pressure as the wrench is turned.
As a result, this key is known to leave tooth marks. I do not recommend this key to remove ornaments, and if so used, I suggest you use cloth tape over the serrated teeth to protect the trim finish. It is preferable, however, to use an adjustable parakeet wrench for fine work on visible finishes.
English Faucet Valve
Wrench The English faucet valve wrench is a simple tool used to remove the valve seat from the faucet body so it can be replaced.
Compression taps work by compressing a rubber or nylon washer against a valve seat in the body of the faucet. Compression taps are the least expensive and oldest tap styles. Therefore, they are common in old houses and where cheap faucets are used.
The faucet handle is attached to a stalk assembly of the faucet valve. The compression washer is seated in its own valve seat in the valve stem assembly. At the base of the faucet body, you will find another valve seat against which the washer is compressed, thus varying the amount of water that is allowed to flow through the faucet.
When the washer is allowed to wear too much friction between the valve seat washer and the valve seat of the faucet body can cause the valve seat of the faucet body becomes rough and no longer have a smooth surface, and leaks occur.
When that happens, it must either remove (the simplest) valve seat and replace (using a key seat of the faucet valve) using an exact duplicate, or “reset” or smooth return to the valve seat “more work”.
Tool to reset the faucet valve
Like the English faucet valve seat, the valve reset tool is for use with Compression Faucets. The tool for resetting the valve is also known as a valve seat adjuster or valve seat grinder. It is used to re-smooth the valve seat in the faucet body if you can not remove the valve seat, or if you decide not to replace it.
The tool to reset is quite simple to use. The key is to not use the tool with too much pressure or too much time or it will wear too much of the soft metal in the valve seat. If that happens, all you can do is replace the faucet.
To use the tool, just remove the stem assembly from the tap valve. Using the largest grinder appliance that fits on the faucet, insert the grinder until it rests on the valve seat on the faucet body. Use only moderate pressure to turn the tool clockwise until the seat is smooth and the rough edges and edges are removed. Clean the valve seat with a damp cloth to remove metal chips. Reassemble the faucet and open the faucet with full pressure for a few minutes to rinse the seat.
Faucet gaskets and washers
Compression faucets depend on rubber or nylon washers and a seal around the tap stem. Older tap designs use a string of graphite or wax around the top of the stem. New models or use a rubber washer inside the nut that holds the stem or O-rings.
Replacing O-rings or washers is simple, simply remove and take it to your hardware store to find the exact replacement.
For faucets that use packaging, simply remove the old packing string and any residue left on the stem. Then tightly wrap the new faucet gasket around the stem. Cut off any excess packing cord and reassemble the tap.
Cutting of pipe

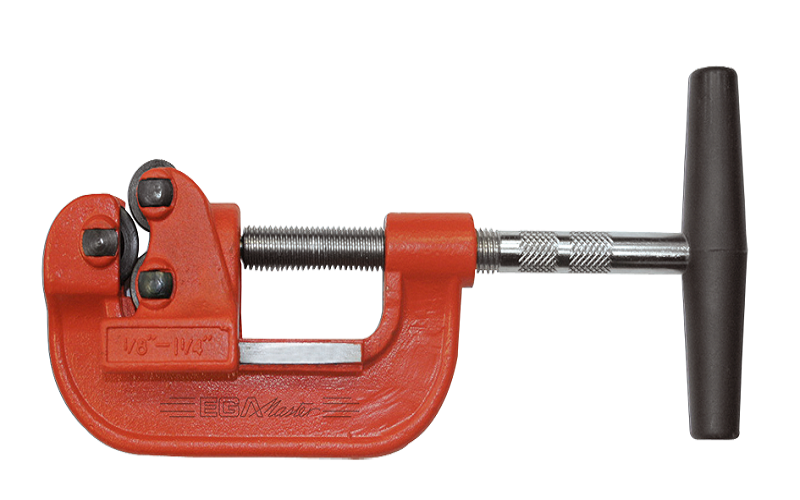
The pipe cutter is an essential plumbing tool if you are going to work with copper pipe. With copper tubing, it is important to have a smooth, square cut on the edges, and tight joints.
When using a pipe cutter, hold the copper pipe and hold the cutter around the pipe where you want to cut it. Then turn the cutter around the tube, squeezing the handle a little in each revolution to increase the pressure of the cutting wheel on the tube. After making the cut, you may find some irregularities on the edges of the cut pipe. Remove these with a small file or a tool to remove irregularities made for this purpose.
Tags: most needed plumbing tools, plumbing tools, Top 10 most needed plumbing tools


Leave a Reply
You must be logged in to post a comment.