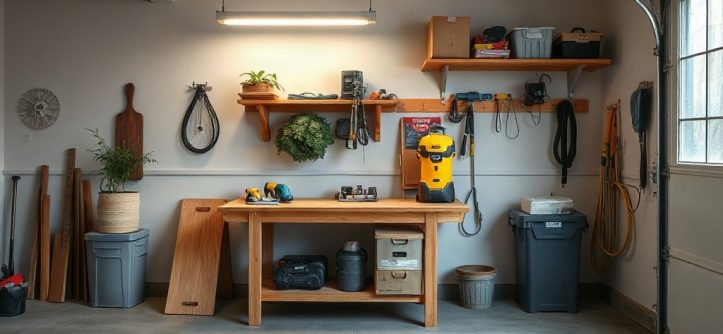
Turning an Unused Garage Corner Into a Home Workshop: Bench, Lighting and Dust Control starts with one honest look at that cluttered corner you keep walking past. Most garages hold a forgotten zone near the door or along a side wall, and it usually measures enough to fit a bench, a stool, and a few tools. The real question is whether that scrap of floor can become a workspace you actually use.
Quick answer: Clear a corner of roughly 6 by 8 feet, build a sturdy bench at hip height, add bright task lighting above it, and control dust at the source with a shop vacuum and a simple air filter. The bench decides whether you can work. Lighting and dust control decide whether you’ll want to.
This guide walks through the bench build, the lighting plan, and the dust strategy in plain terms. By the end, you’ll know what to buy, what to skip, and where most first-timers go wrong.
What is Turning an Unused Garage Corner Into a Home Workshop: Bench, Lighting and Dust Control?
At its core, this project turns dead storage space into a small, functional woodworking or repair zone. You pick one corner, clear it out, and build a compact setup that covers three needs: a solid surface to work on, enough light to see details, and a way to keep sawdust and grit out of your lungs and off your shelves.
The space itself rarely needs major construction. A typical one-car garage corner offers about 48 square feet of usable floor. That fits a bench of 6 to 8 feet long and 24 inches deep against one wall, plus room to stand and swing a hammer. The rest of the garage can stay a garage.
The bench is the anchor. You want a top that won’t flex under a vise or a heavy project. A double layer of 3/4-inch plywood on a frame of 2x4s handles most home work. Height matters more than people expect: aim for your wrist joint when your arm hangs at your side, which lands around 34 to 36 inches for most adults.
Lighting comes next. Garage corners are often the darkest part of the building, especially if the only fixture is a single bulb in the middle of the ceiling. You need light over the bench and, ideally, one task lamp you can reposition.
Dust control rounds out the trio. Sawdust drifts, settles, and finds its way into every crack. A shop vacuum hooked to your tools, plus a small air filtration unit or an open door with a box fan, keeps the air and surfaces manageable.
These three parts work as a system. A great bench under bad light gets ignored. Perfect lighting in a dusty corner means constant cleaning. Treat all three as one plan and the corner earns its space.
A corner that looks small on paper can hold a full bench because you only need two walls, not four. The open sides give you room to move.
Why Turning an Unused Garage Corner Into a Home Workshop: Bench, Lighting and Dust Control matters
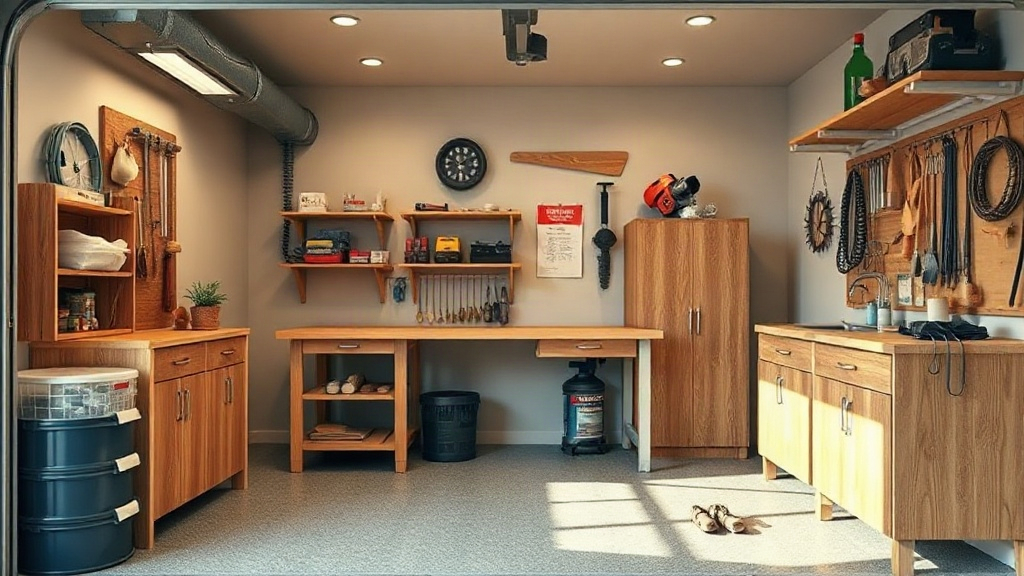
A dedicated corner changes how often you actually build things. When tools live in a box on a shelf, every small project starts with twenty minutes of setup. A permanent bench removes that friction. You walk in, flip a switch, and start cutting.
There are practical reasons beyond convenience:
- Safety. Working on a kitchen table or the floor invites slips, cuts, and strain. A bench at the right height and a vise that holds your work reduce those risks.
- Air quality. Garages often share walls or ventilation with living space. Containing dust protects your home and your lungs.
- Tool lifespan. Dust clogs motors and settles into moving parts. Controlling it keeps saws and sanders running longer.
- Value of the space. A corner stacked with boxes delivers little. The same corner as a workspace returns daily use.
Consider the timing angle. Small projects tend to happen in short windows—an hour after dinner or a Saturday morning. Setup time eats that window fast. A ready workspace lets you use the scraps of time you actually have.
Cost matters too. A basic corner setup—plywood bench, two LED shop lights, a shop vacuum—can come together for a few hundred dollars if you build the bench yourself and shop for lighting on sale. That’s often less than one commissioned piece of furniture. The math favors doing it yourself once you have a place to do it.
There’s a quieter benefit as well. A workshop corner gives you permission to make things. Many people abandon hobbies because the barrier to starting feels too high. Removing that barrier tends to revive them.
It also keeps skills alive. Woodworking and repair work are perishable, and a month away from the bench dulls both technique and confidence. A space that sits ready lowers the odds that a short break turns into a permanent one, and that continuity is worth more than any single project.
A permanent bench plus light plus dust control converts small pockets of free time into actual finished projects.
Best practices
Good corners share a few habits. Start with the bench, because everything else hangs off it.
Set a firm rule that the bench top stays clear between projects. It is the flat surface in a garage, so it collects mail, boxes, and half-finished repairs unless you guard it. A cheap tool bag or rolling cart gives clutter somewhere else to land, and a five-minute reset at the end of each session keeps the next project from starting with cleanup.
Build the bench for real work
Use a frame of 2x4s with legs that sit under the top, not just screwed to the sides. Add a lower shelf for storage, which also stiffens the whole structure. Bolt it to the wall studs if local codes allow—a bench that shifts mid-cut is a hazard. Face the top with a replaceable hardboard layer so scratches and glue drips stay cosmetic.
Layer your lighting
Skip a single overhead bulb. Use two LED shop lights mounted above the bench, angled slightly toward your work, plus a clamp lamp for close detail. Aim for bright, even light with no shadow falling exactly where your hands work. Cool white light around 4000K shows true colors and reduces eye strain.
Capture dust at the source
Connect your sander and saw to a shop vacuum with a hose adapter. A vacuum with a HEPA filter traps fine particles that a standard filter passes through. Add a box fan with a furnace filter in the window or doorway to pull airborne dust out of the corner.
Plan the power and layout
Mount a power strip along the back of the bench so you never reach past a spinning blade for an outlet. Keep the floor clear of cords by running them along the wall. Store frequently used tools within arm’s reach and rarely used ones on the shelf below.
Comparison: Basic setup vs. upgraded setup
| Item | Basic | Upgraded |
|---|---|---|
| Bench top | Single 3/4-inch plywood | Double plywood with hardboard face |
| Lighting | Two LED shop lights | Shop lights plus clamp task lamp |
| Dust control | Shop vacuum with standard filter | HEPA vacuum plus box fan filter |
The upgrade adds cost but pays off in comfort and cleanup time. Most people land in the middle: a solid bench, good lights, and a HEPA vacuum.
Common mistakes to avoid
Most failed workshop corners fail for predictable reasons. Watch for these.
Building the bench too high or too low. A bench that’s two inches off forces you to hunch or reach all day. Test the height with a mock-up before you cut lumber.
Underestimating lighting. One ceiling fixture casts shadows exactly where you need to see. Add dedicated task lighting and check it at night with the garage door closed.
Ignoring dust until it’s everywhere. A broom and a shop vacuum handle chips. Fine dust needs filtration. Without it, the dust migrates into the house and coats every surface.
Skipping the vise. A bench without a way to hold work limits what you can do. Bolt a vise to one end and you gain a second pair of hands.
Blocking the garage door or walkway. Keep at least 30 inches of clear path. A corner that traps the car or the door becomes a nuisance and gets abandoned.
Forgetting ventilation. Garages trap fumes from finishes and solvents. Crack a door or window when you use them, and never store open containers near your work area.
Choosing the wrong wall. A corner beside the garage door takes the brunt of windblown rain, road salt, and whatever the car drags in. Pick the corner farthest from the door where possible, or build a small weather barrier against the wall.
Storing paint and solvents under the bench. They seem convenient, but every spark, hot bulb, or dropped tool becomes a fire risk. Keep flammables in a sealed metal cabinet away from the work zone.
Overbuilding on day one. A beginner rarely needs cabinets, drawers, and built-in shelving before the bench sees a single project. Build the bench, use it for a month, then add storage where you actually reach for it.
Fine sawdust and solvent vapors can seep into living space through shared walls and vents. Keep the workshop door closed and ventilate to the outside when possible.
FAQ
How much does a corner workshop cost to set up?
A basic build runs a few hundred dollars: plywood and lumber for the bench, two LED shop lights, and a shop vacuum. Upgrading to a HEPA vacuum and better lighting adds more, but you can spread purchases over time. Building the bench yourself is the biggest saver.
How big does the corner need to be?
About 6 by 8 feet gives you a comfortable bench and standing room. You can work in less—a 6-foot bench against one wall with two feet of clearance in front handles most tasks. Measure your longest tool and your body’s reach before committing.
Can I build this in a rental garage?
Usually yes, if you don’t modify the structure. A freestanding bench that rests against the wall and removable lights leave no permanent marks. Check your lease for rules on wall anchoring before you bolt anything down.
How do I stop dust from reaching the rest of the garage?
Connect tools to a shop vacuum at the source, add an air filter or box fan with a furnace filter, and wipe surfaces after each session. Seal gaps around the bench area if dust keeps drifting toward stored items.
Conclusion
A useful workshop corner comes down to three connected pieces: a bench built at the right height, layered lighting that kills shadows, and dust control that starts at the tool and finishes with filtration. Get those right and the corner stops being storage and starts being a place where projects happen. Start small this weekend—clear the corner, measure your bench height, and buy one good light. The rest of the plan can follow as you use the space and learn what it needs. Turning an Unused Garage Corner Into a Home Workshop: Bench, Lighting and Dust Control rewards the first hour you spend clearing and measuring, because every later decision gets easier once the space is real.