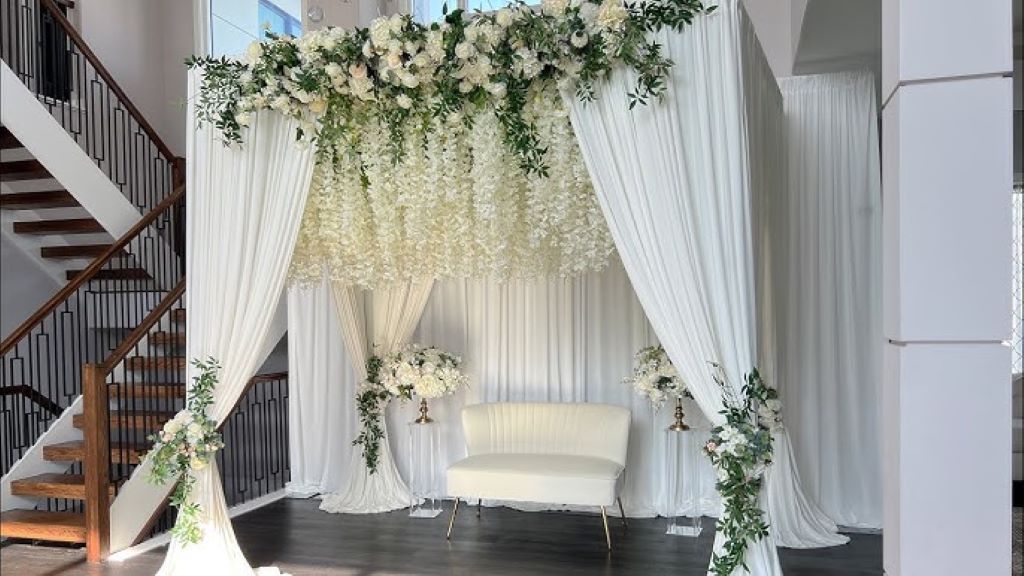
Hey everyone! Are you a fan of taking photos for social media or just for fun? Having a backdrop stand is a game-changer. However, these stands can be quite expensive. But don’t worry, I’ve got you covered. I’ve created a guide that will show you how to make a backdrop stand that works great for under $50. All you need is a trip to the hardware store and a bit of elbow grease. It’s a great deal that you don’t want to miss!
I’ll walk you through what supplies you need, how to put it all together, tips for getting pro-looking shots, taking it on location, and answer some common questions people have about crafting their stands. No fancy tools or construction skills are required! Just the willingness to DIY.
So grab your selfie stick and let’s get started!

Gearing Up – What You Need
Before we start building, you need to gather up the gear. I aimed to design a backdrop stand that maximizes quality while keeping the costs down. Most supplies can be found at your local hardware shop or home improvement store.
Here’s what you’ll need:
– 1 1⁄4” x 10’ PVC pipes (get 2)
– PVC tee fittings (get 2)
– PVC elbow fittings (get 2)
– 1 1⁄4” PVC cross fittings (get 2)
– A PVC cutter or hacksaw
– PVC cement (get the ‘all-purpose’ kind)
– Backdrop clips (get at least 4 but more is better)
-Muslin fabric (they sell this at most craft stores) or a fabric of your choosing
-E600 industrial adhesive (for extra stability)
PVC pipes form the skeleton of the backdrop stand. You can use thinner 3⁄4” pipes, but I like the sturdier 1 1⁄4” size. PVC pieces come in 10 lengths normally, but we’ll cut them down to size.
The PVC fittings connect the pipes. You need:
– Tees to create the top of the stand
– Elbows for the diagonal side supports
– Crosses for extra connections in the base
A PVC cutter or hacksaw slices the pipes down to size. Most hardware stores will cut PVC for you, but if you’ll be making lots of backdrops doing it yourself saves time.
PVC cement permanently glues the whole thing together. Don’t skip this stuff unless you want a floppy, droopy backdrop!
Backdrop clips attach your fabric backdrop to the stand. You’ll want enough to clip the top and sides.
For the actual backdrop, muslin is an affordable fabric that looks great on camera. But any solid color fabric can work. Avoid thick materials like canvas that don’t drape nicely.
E600 glue reinforces the joints and keeps things sturdy long. This special adhesive is flexible and bonds plastic.
And that’s it for supplies! The whole shopping list costs around $35 assuming you already have a saw for cutting. Now let’s start putting it all together.
Assembly – Building the Frame
With all your gear ready, it’s time for assembly. Constructing the frame is the most technical step, but I’ll walk you through it. Even if you’ve never touched a power tool, you’ve so got this!
Here are the steps:
1) Measure and Cut the PVC Pipes
You need to cut two pipes down to 8 feet. These form the top of the A-frame stand. The other two pipes stay 10 feet long and create the sides.
Pro Tip: Lay the 10’ pipes on the ground in an upside-down “V” shape to mark where to cut the 8’ length.

2) Connect the Top Tees
Take two tee fittings and two 8’ pipes. Slide the ends of the pipes into the openings of each tee. Push firmly until seated. These tees join the two pipes, forming the top crossbar of the frame.
3) Add the Elbows to the Side Pipes
Slide an elbow fitting onto the end of each 10’ pipe. Position the elbows 48-60 inches up from one end depending on the backdrop size you want. Push to connect.
4) Join Both Sides to the Top Tees
Stand up the two tee/pipe combos from step 2. Take the 10’ pipes with elbows and insert the elbows into the openings of the tees. You may need a friend to help hold pieces upright while connecting.
5) Attach the Base Cross Fittings and Pipes
Take the last two cross fittings and push them onto the bottom ends of the 10’ side pipes. Then take any PVC scrap and cut two small pipes to connect the crosses. This completes the frame!
I know that sounds like a lot of step-by-step building, but once you try it yourself the logic clicks. Essentially we created an 8’ crossbar on top and two angled 10’ side supports connected by crosses at the bottom. The width across the top is what determines the width of your backdrop.
Pro Building Tips
If you want an even wider backdrop, use two tees and longer pipes for the top crossbar. You can go up to 16 feet wide! Just adjust the side pipe elbow positions to match.
Dry fit (no glue) all the pieces when first building. This lets you test the height and width and make tweaks easily.
Run pipes through the fittings when first connecting. Cut them down afterward once you confirm the dimensions.
Finishing Touches – Gluing and Backdrops
All right, the PVC frame is built! Almost ready to snap some pictures. Now we just need to reinforce everything to stay put and attach the backdrop fabric. Time for finishing touches:
1) Apply PVC Cement
Remember that PVC cement bottle? Open it up and apply a thin layer of glue/solvent around each pipe/fitting connection. This melts and fuses the pieces into ultra-strong chemical bonds. Be sure to cement every spot two pipes meet. Set aside to fully cure overnight.
2) Glue High Stress Areas
I like to reinforce the four corners and tee joints even further using E600 adhesive. Just glob on the clear flexible glue where the pieces intersect and let it dry overnight too. This keeps things sturdy long-term even with repeated assembly.
3) Clip-On Backdrop Fabric
Lastly, take your backdrop fabric and start clipping it onto the top and side pipes using the spring-loaded clips. For wide backdrops, you may need a friend to help hold the fabric taught. Space clips every 6 to 12 inches. And voila! Your backdrop is ready to help you get the perfect shot.
Pro Photography Tips
You built an awesome DIY photography rig! Give yourself a high five. Now let’s cover some quick pro tips to take your shots to the next level:
Position It Properly – Place the stand 7-10 feet from your subject with room to mount lights behind. This creates even lighting and soft focus.
Elevate your holiday style with elegant Christmas decor, and enhance the ambiance by incorporating an extra touch of glamour through strategically placed lights. Utilize inexpensive clamp work lights to illuminate the backdrop separately from your main light, allowing the vibrant colors of your decorations to truly pop and create a festive atmosphere.
Pick Complementary Colors – Red backdrops go great with black outfits. Blues and greens work well with white clothes. Mix and match!
Iron Out Wrinkles – Wrinkly fabric equals distracting creases. Break out the iron and press your backdrop before shoots.
Tweak The Height – Adjust the side pipe positions to lower the stand for headshots or raise it when capturing the full body.
Address Shadows – Have a friend hold a reflector to fill overly dark shadows caused by the strong lighting.
There are a ton more little tricks, but that covers the basics to take your shots next level!
Taking Your Backdrop On Location
The best part about PVC pipe builds? They break down just as easily as they go together! This means you can take your backdrop stand to parks, events, and cool locations with no problem.
Here’s a quick guide to location shooting:
Break It Down
Disassemble everything by removing the side supports, then crossbar pieces last. This keeps things organized and prevents lost fittings!

Transport Safely
The best way to travel is lying the pipes and pieces flat in an SUV, trailer, or truck bed. You can pad them with moving blankets or foam to prevent scratches.
Reassemble On Site
Clear an area about 15 feet wide x 13 feet deep and rebuild the frame. Have a helper hold pieces upright when reconnecting if it’s windy.
Secure With Sandbags
Since you won’t have time to cement pieces together, use sandbags draped over the stand feet to weigh it down. This keeps it stable.
Pick Up Windproof Fabrics
Lighter backdrops like muslins will flap around outside. Opt for more wind-resistant fabrics like canvas when shooting outdoors.
The Break It Down, Move It and Rebuild It process sounds intensive but only takes 10-15 minutes once you’ve done it a couple of times. Worth it for capturing amazing shots on location!
FAQs
How wide/tall of a backdrop can I make?
Using 10’ PVC pipes, you can build stands up to 16’ wide by 11’ tall. Gets kinda tippy though over 12’ widths. For most uses 8’ x 10’ is ideal.
Does it need any special storage when not using it?
Nope! Just carefully disassemble & stack somewhere dry like a garage shelf or closet. Loose pipes can get scratched up so lay a tarp underneath if stacking directly on the floor or each other.
How much weight can the stand hold?
I wouldn’t go hanging off it yourself, but it can easily handle attaching small props, fabrics, etc without collapsing. I’ve seen photographers clip big reflector panels and light stands onto them with no problem.
Can I use a different pipe material like wood or metal?
You can but PVC works great plus is affordable & super easy to assemble. Metal would be very heavy. Wood would need to be treated to prevent outdoor warping. I’d stick with PVC!
Do I need those special PVC pipe connecting pieces?
The elbows, tees, and crosses are 100% necessary. They join the different frame sections together in ways basic straight pipes can’t. So don’t skip them!
Conclusion
By following this guide, you can create a cost-effective, customizable DIY backdrop stand rig. Explore the festive spirit with DIY wooden Christmas decor ideas, and elevate your holiday setup by incorporating a versatile PVC stand adorned with a cool graphic—perfect not only for showcasing your creations but also for enhancing your video calls. No complex tools or skills are required; just a willingness to learn basic PVC construction adds a touch of crafty charm to your seasonal celebrations.
Tags: craft your own, crafting tutorial, creative projects, diy backdrop stand, diy photography, do it yourself, handcrafted backdrops, homemade backdrop, photography diy


